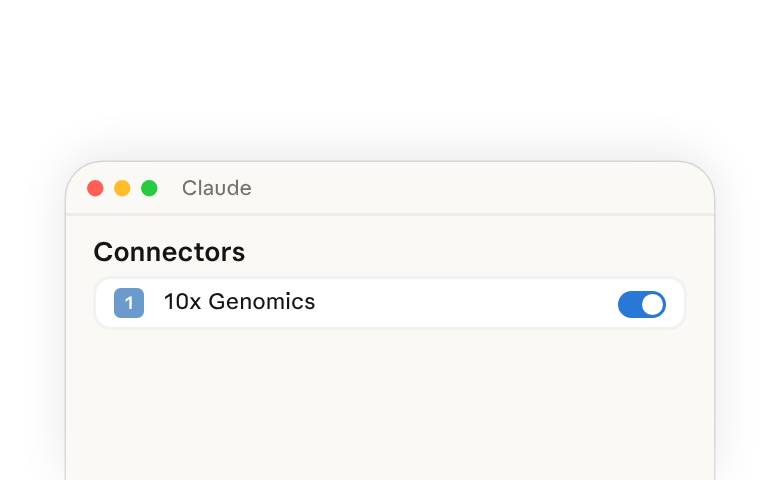
The 10x Genomics integration transforms single cell and spatial analysis into a simple, conversational workflow. Biologists can easily analyze their own sequencing data, while core labs can quickly perform batch processing. This article explains how to set up and use the 10x Genomics integration with Claude to advance your analysis workflows.
The 10x Genomics integration is available as a desktop extension in the Claude Desktop App (download here(opens in new tab)), and it relies upon Claude's ability to use local connectors via a desktop extension(opens in new tab).
What this integration provides
The 10x Genomics integration enables researchers to create and manage single cell genomics analysis workflows in conversation with Claude. Users can upload data, configure and launch Cell Ranger pipelines, monitor analysis status, and download results using natural language prompts instead of command-line tools or web interfaces. The integration translates conversational requests into actions on the 10x Genomics Cloud platform, streamlining workflows for gene expression, cell multiplexing, and CRISPR screening analyses.
Who should use the 10x Genomics integration
-
Computational Biologists: Researchers who analyze single cell genomics data and want to streamline cloud-based analysis workflows
-
Bioinformaticians: Scientists who process multiple samples and need efficient batch processing capabilities
-
Research Scientists: Lab researchers who generate single cell data and want an intuitive interface for running standard pipelines
-
Core Facility Managers: Staff who process samples for multiple research groups and need to manage numerous analyses
Who can access the 10x Genomics integration
Any user with a 10x Cloud account (create a free account here(opens in new tab))
More details on accessing the integration can be found in the 10x Genomics MCP Server Documentation(opens in new tab).
Setting up the 10x Genomics integration
The 10x Genomics integration is available as a desktop extension in the Claude Desktop App (download here(opens in new tab)). For Organization Owners (Team and Enterprise), setting up the integration involves making the extension available to your organization. For individual users, setting up the integration involves installing the extension from inside the Claude Desktop App.
For Organization Owners (Team and Enterprise)
- Open Organization settings, search for “Desktop extension allowlist” and click the result
- Check whether the switch that limits which desktop extensions your team can install is on or off. Leave it as it is, because changing it affects which extensions your whole team can install
- If the switch is on, add 10x Genomics Cloud to the allowed extensions
- If the switch is off, there is nothing to add. Your team can install desktop extensions unless your organization blocks them (see below)
- Instruct your team to download the Claude Desktop App(opens in new tab) to access the integration by following the instructions below for Individual Claude Users
If your organization blocks desktop extensions, for example with the Enterprise option to block all desktop extensions or with rules your IT team sets on work computers, your team can't install the extension until that changes. Learn about enabling and using the desktop extension allowlist(opens in new tab).
For Individual Claude Users
- Download the Claude Desktop App(opens in new tab)
- In the Claude Desktop App, open Settings, search for “Extensions” and click it in the results
- Click “Browse extensions”
- Click “10x Genomics Cloud”
- Click “Install”
- Follow the instructions to authenticate with your 10x Cloud account
Learn about installing desktop extensions from the directory(opens in new tab).
Common use cases
-
Set up a Cell Ranger count analysis
-
Set up a Cell Ranger multi analysis with multiplexing
-
Batch process multiple samples
-
Monitor and download analysis results
-
Interpret QC metrics and results
Sample prompts and prompting best practices can be found in the 10x Genomics MCP Server Documentation(opens in new tab).